


Korea Emergency Alert Guide: 7-Step Response, English Setup, Smishing Detection
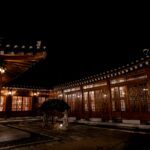
Korea emergency alert (긴급재난문자) is the most jarring 5 seconds in any new international resident's daily life — a phone suddenly screaming at siren-level volume with a Korean-language message. Beyond the panic, every alert falls into one of three tiers…
")
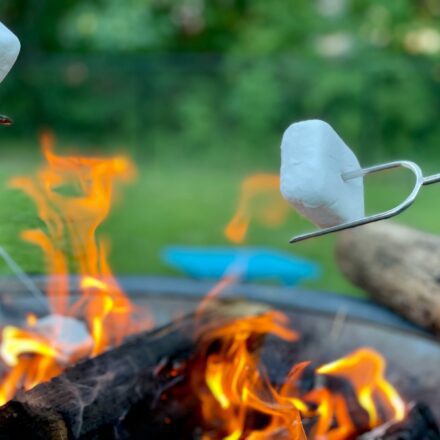
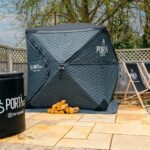
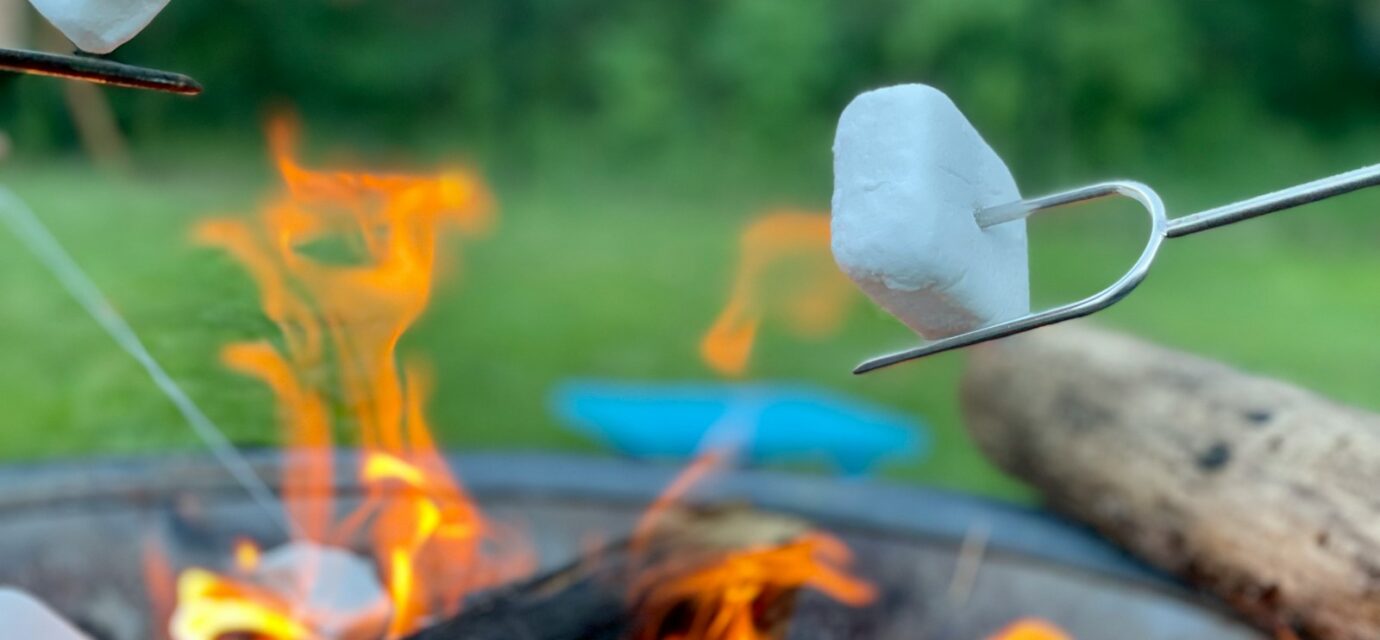
Korea Summer Camping: Glamping vs Standard vs Valley Camping (10 Best Spots)
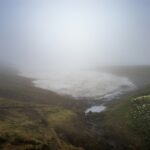
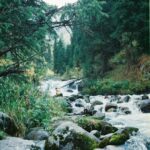
Korea summer camping is the fastest 1-night escape from city heat — 90 minutes to 3 hours from Seoul lands you in mountain valleys, forest campgrounds, or beach-adjacent campgrounds where temperatures drop 8–12°C and the air smells of pine. Korea summer…

F-4 Overseas Korean Visa Guide: Eligibility, Application, and Settlement A to Z
F-4 overseas Korean visa is the long-term visa that gives Korean-heritage holders of foreign citizenship the broadest activity rights in Korea — long stays, almost any profession, real estate, local banking, school enrollment for children. The catch:…

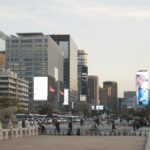
Korea Housing Cost Comparison: Seoul vs Gyeonggi vs Busan for Foreigners
Korea housing cost comparison across Seoul, Gyeonggi, and Busan is the first practical step every long-term international resident must take before signing a lease — the same 30-pyeong apartment can cost KRW 800M jeonse in Gangnam, KRW 650M in Bundang,…

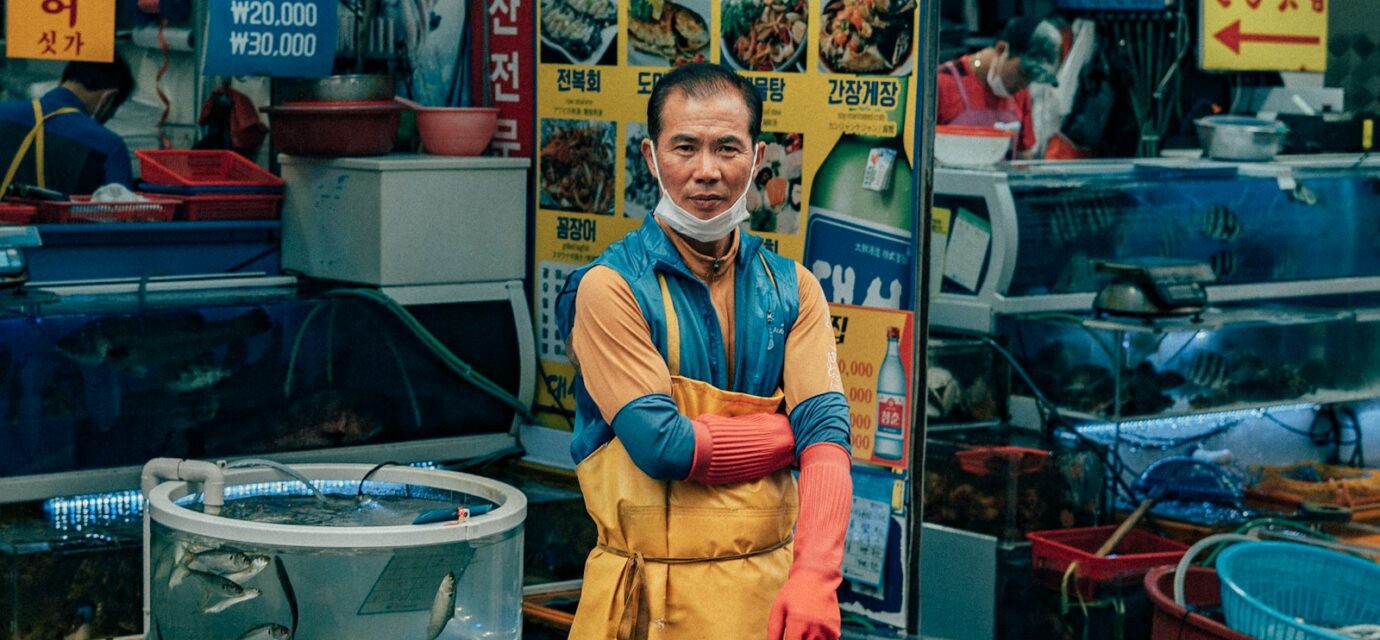
Yeosu Seafood Food Route: Bongsan-dong Gejang & Dolsan Gat-Kimchi Trail
Yeosu seafood food route is built around two regional signatures — Bongsan-dong's gejang baekban (soy-marinated raw crab with rice) restaurant cluster and Dolsan Island's gat-kimchi (mustard greens kimchi) producers. The pairing represents one of the…
")
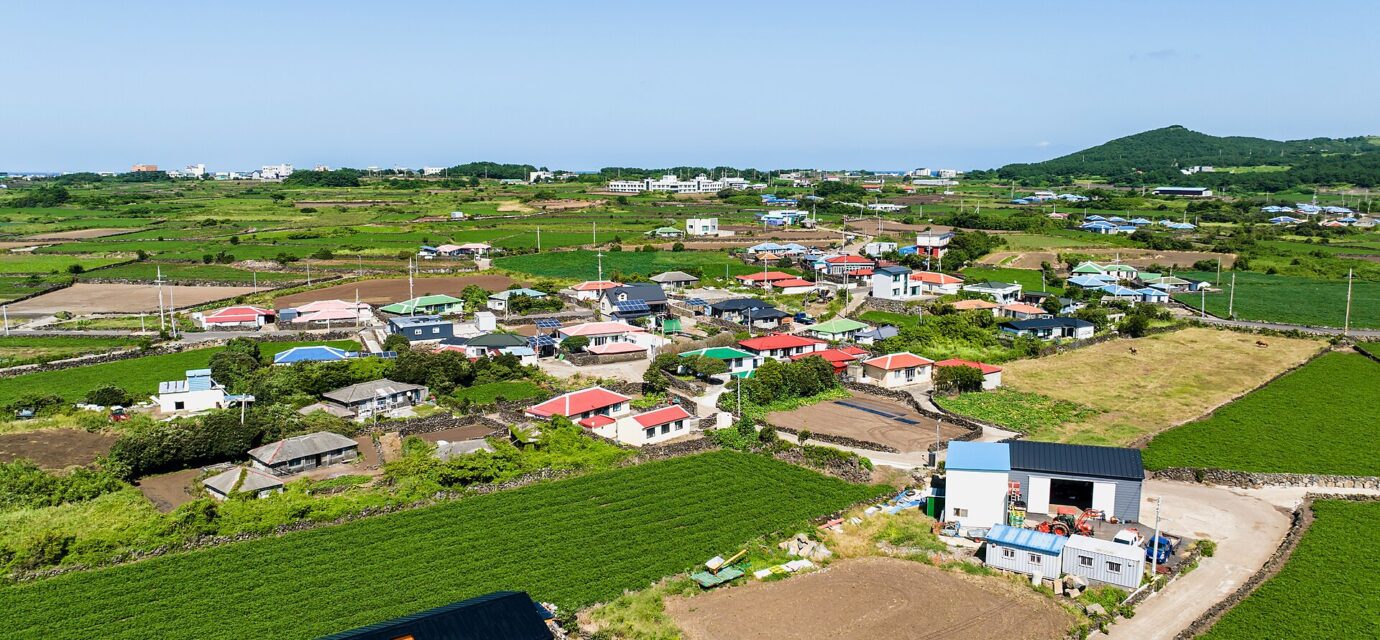
Udo Day Trip: Bike vs Scooter Course Guide (Jeju)
"Bike or scooter for a Udo day trip?" You have about five minutes at Seongsan Port to decide. This guide compares two bike routes and two scooter routes around Udo's 17km loop, with the key stops — Geommeolle Beach, Seobinbaeksa, Udobong Peak, and the…
")
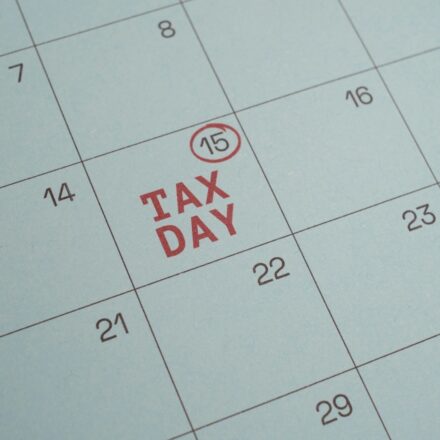
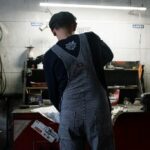
Korean Payslip Deductions Explained: 4 Insurances + Tax (2026 Guide)
Korean payslip deductions are the single most common "where did my salary go?" question for new international employees in Korea. Between the four mandatory insurances (national pension, health, employment, workers comp) and income/local tax, KRW…

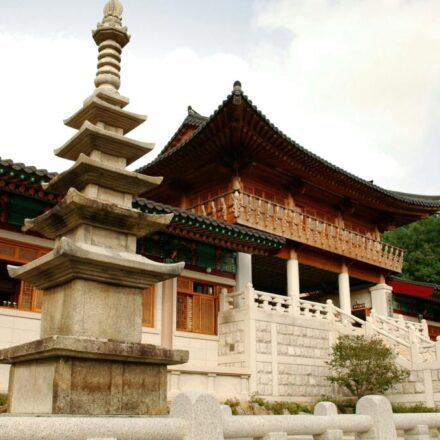
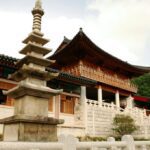
Iksan Mireuksa Complete Guide: Baekje UNESCO World Heritage Day Course
"What's so special about Iksan Mireuksa?" Easy answer: Korea's oldest stone pagoda still standing on the same ground after 1,400 years. Founded by King Mu of Baekje in the early 7th century, 190,000 sqm three-precinct layout, UNESCO listed in 2015.…

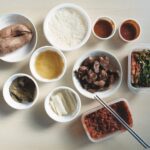
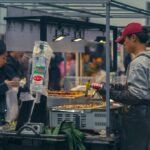
Korean Cooking Class Guide: Kimchi, Bibimbap, Bulgogi Workshops in Seoul, Busan, Jeonju
Korean cooking class is one of the fastest ways for international residents and tourists to dive into Korean food culture beyond eating out. Hands-on classes for kimchi making, bulgogi/bibimbap, tteok (rice cakes), and traditional liquor tasting are…

East Coast Road Trip from Seoul: 2-Night Gangneung-Yangyang-Sokcho-Goseong Course
East coast road trip from Seoul is one of the most rewarding 2-night, 3-day routes in Korea — a 2.5-hour drive from Seoul lands you in Gangneung, with the day-by-day route running Gangneung → Yangyang → Sokcho → Goseong over the next 48 hours. Coffee…